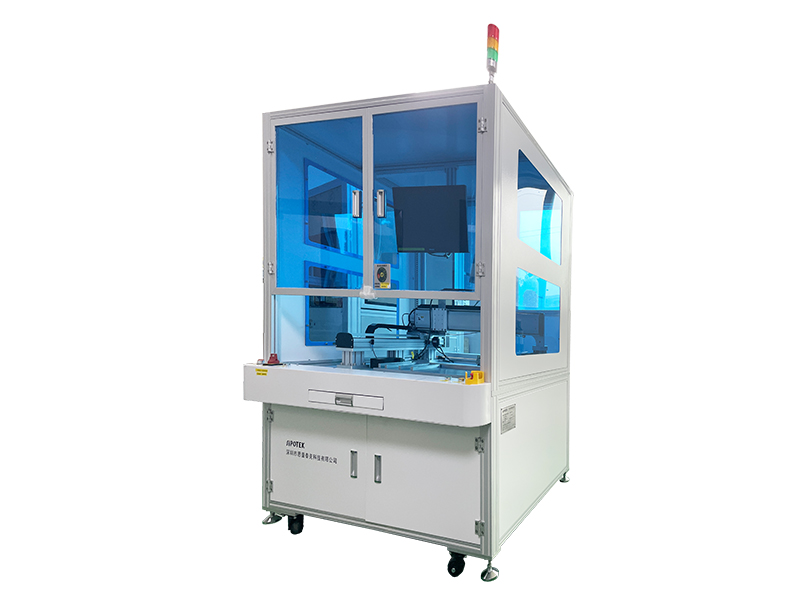
How the 3D vision inspection system works
Compared with traditional 2D visual inspection, 3D visual inspection has obvious advantages in obtaining more comprehensive information, improving measurement accuracy, wider applicability, and faster detection speed. It is especially suitable for application scenarios requiring accurate measurement and depth perception.
3D visual inspection is a method of detection and measurement using 3D imaging technology, which is used to obtain the three-dimensional shape, depth and spatial information of objects. Compared with traditional 2D visual inspection, 3D visual inspection can provide the three-dimensional shape and spatial information of the object, while 2D vision only provides the two-dimensional image information of the object, so it is more accurate in the detection of complex objects or uneven surfaces.
Because 3D vision can obtain the depth information of the object, it has higher precision and accuracy in measuring size, distance, height and so on. It is not affected by the surface material and reflectivity of the object, and is suitable for various objects of different materials and colors.
Through 3D imaging technology, the entire object can be quickly scanned and detected, improving production efficiency. 3D visual inspection is more adaptable to light, shadows and environmental disturbances, and more stable in complex environments. The depth and three-dimensional structure of objects can be recognized, which helps to detect and identify objects with height variations or layers.

How the 3D vision inspection system works
The 3D vision inspection system can obtain the three-dimensional shape and depth information of the object, achieve accurate measurement, detection and analysis, and provide more comprehensive and accurate visual information for various application scenarios. Different imaging techniques, such as structured light projection, binocular vision, and Time-of-Flight, are used to obtain three-dimensional shape and depth information of objects.
The system first obtains the three-dimensional surface information of the object, and collects a large number of data points through imaging technology for subsequent analysis and processing. After the collected data is processed and analyzed, images from different perspectives or point cloud data are fused to build a three-dimensional model of the object. By analyzing features such as the shape and texture of the object surface under different viewing angles, the depth information of each point on the object surface is estimated, and a complete three-dimensional model is obtained. Based on the obtained 3D model, the 3D vision inspection system can make accurate measurements, including the measurement of distance, size, volume and other parameters.
3D models can be used for target detection, defect identification, shape matching and other tasks, and automated detection and analysis by comparing with preset standards or models.
3D vision inspection systems are widely used in industrial automation, quality control, robot navigation, medical image analysis, virtual reality and other fields to provide accurate 3D information for these applications.
-
Service hotline
13077808017

